
Introduction
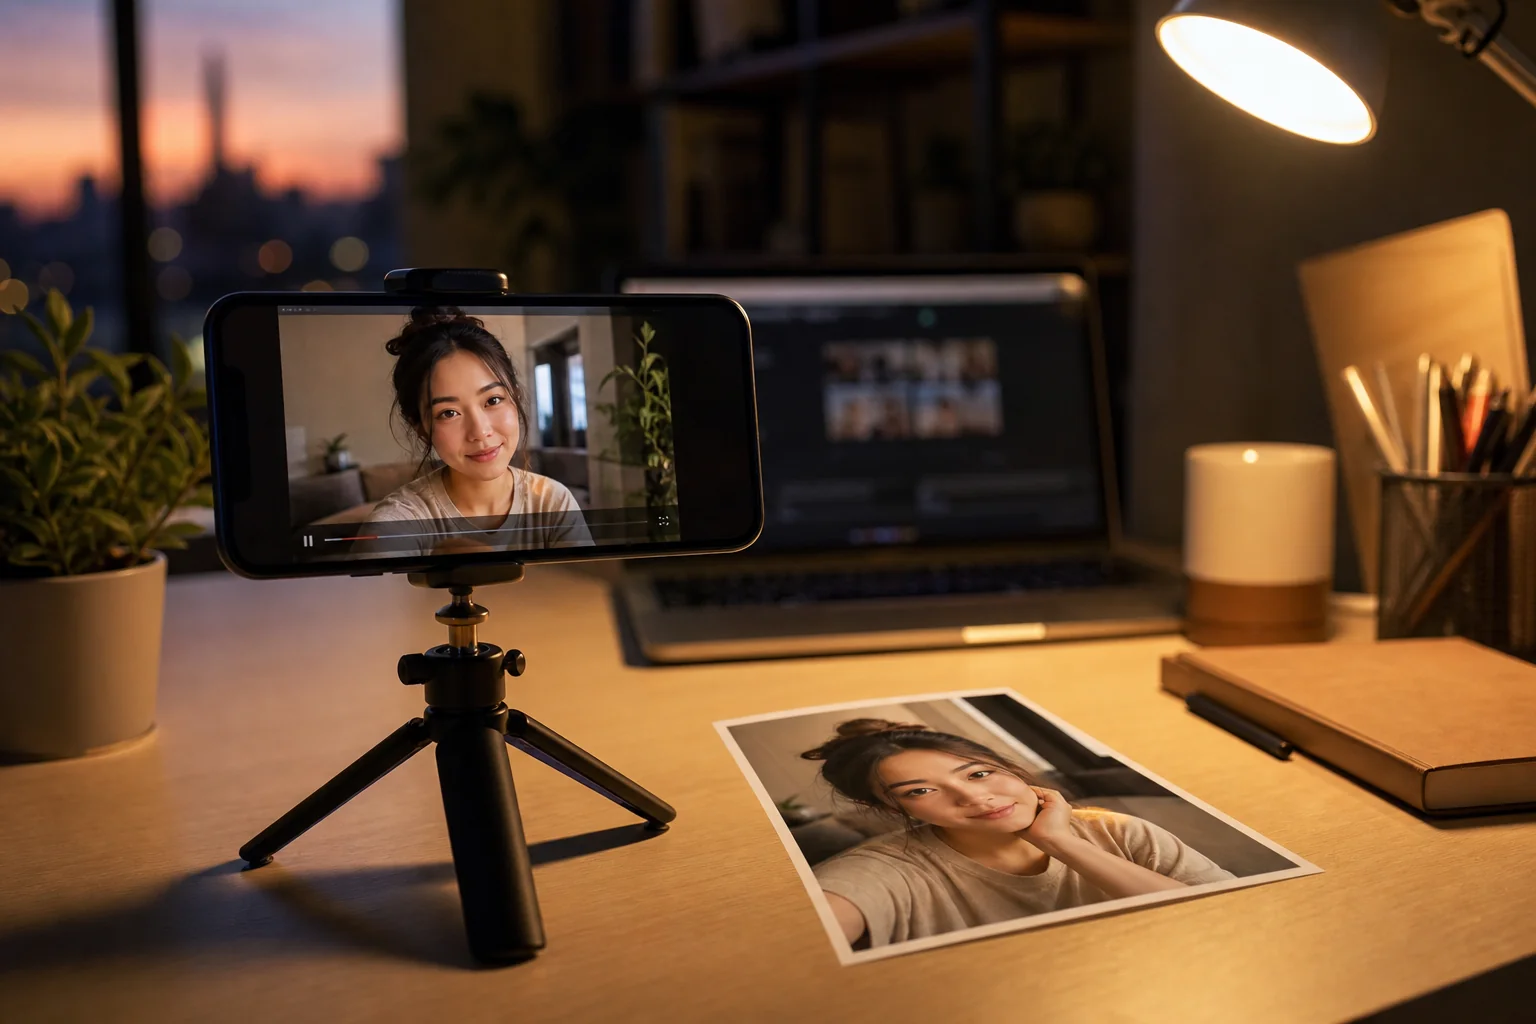
You saw a face swap clip on TikTok, your friend dared you to try it, and now you're here wondering how to put my face on a video without spending a weekend learning video editing. Good news: you have three legitimate paths, and one of them gets you a finished clip in under five minutes.
This tutorial breaks down the three methods creators actually use today: a browser tool, a mobile app, and a local open-source workflow. I tested all three against the same 15-second 1080p interview clip and the same source selfie. You'll see actual render times, quality differences, and hidden costs side by side, so you can pick the right method for your project instead of guessing.
By the end, you'll know exactly where to upload your photo, which method matches a meme vs. a YouTube vlog vs. a short film, and how to avoid the three mistakes that make face swaps look obviously fake. Let's start with what you need on hand before you press a single button.
What You'll Need
Before you learn how to put my face on a video, gather these four things. Skipping any of them is the single biggest reason first attempts look wrong:
- One clear face photo. Front-facing, soft even lighting, no sunglasses, no heavy shadow. A regular selfie taken near a window works.
- One target video. MP4 or MOV, ideally under 60 seconds for your first try, where the face is clearly visible and not constantly turning away.
- A device that matches your method. A phone for the app route, any browser for the online tool, or a Windows PC with an NVIDIA GPU for the open-source route.
- A few minutes of patience. Even "instant" tools need 30–90 seconds to render a short clip.
The 3 Methods Compared (Same Clip, Same Selfie)
To keep the comparison fair, I ran the same 15-second 1080p talking-head clip and the same well-lit selfie through all three methods. Here's what actually came out the other side.
Method A — online AI tool (cloud, browser)
This is the path most first-time users should start with. You open a browser, upload your selfie, upload your video, and the cloud handles everything. No install, no GPU, no learning curve. My 15-second test clip rendered in roughly 90 seconds at 720p, with smooth frame-by-frame tracking and natural skin-tone blending. Cost: free tier covers short clips, paid plans unlock longer videos.
If you want to skip straight to a working tool, AI Video Face Swap Online handles MP4 and MOV uploads and outputs a clean 720p MP4. No editing skills needed.
Method B — mobile app (Reface, FaceMagic, iMideo iOS)
Mobile apps are the meme-maker's favorite. Fast, fun, built for short vertical clips. Most apps (including the iMideo iOS app) still send the heavy work to the cloud, because pure on-device processing is rare. The model is just too large. My same 15-second clip took about 60 seconds on a recent iPhone. Quality was solid for social posts but slightly softer than the browser tool at full screen.
Method C — local open-source (DeepFaceLab)
This is the influencer-tier and short-film route. You train a custom model on dozens of photos of your face, which takes 4–24 hours on a decent GPU. Results can be cinematic, almost indistinguishable from real footage, but the time, electricity, and learning curve are real. Skip this unless you're producing something serious. For when this level of effort actually pays off, the ultimate guide to AI face swap in 2026 covers the trade-offs in depth.
Quick scorecard
- Render speed: Online ≈ App > Local (training-heavy)
- Lip-sync & edge quality: Local > Online > App
- Cost: App ≈ Online (low) << Local (hardware + hours)
- Ease of use: Online > App > Local
Step-by-step: the online method (recommended for beginners)
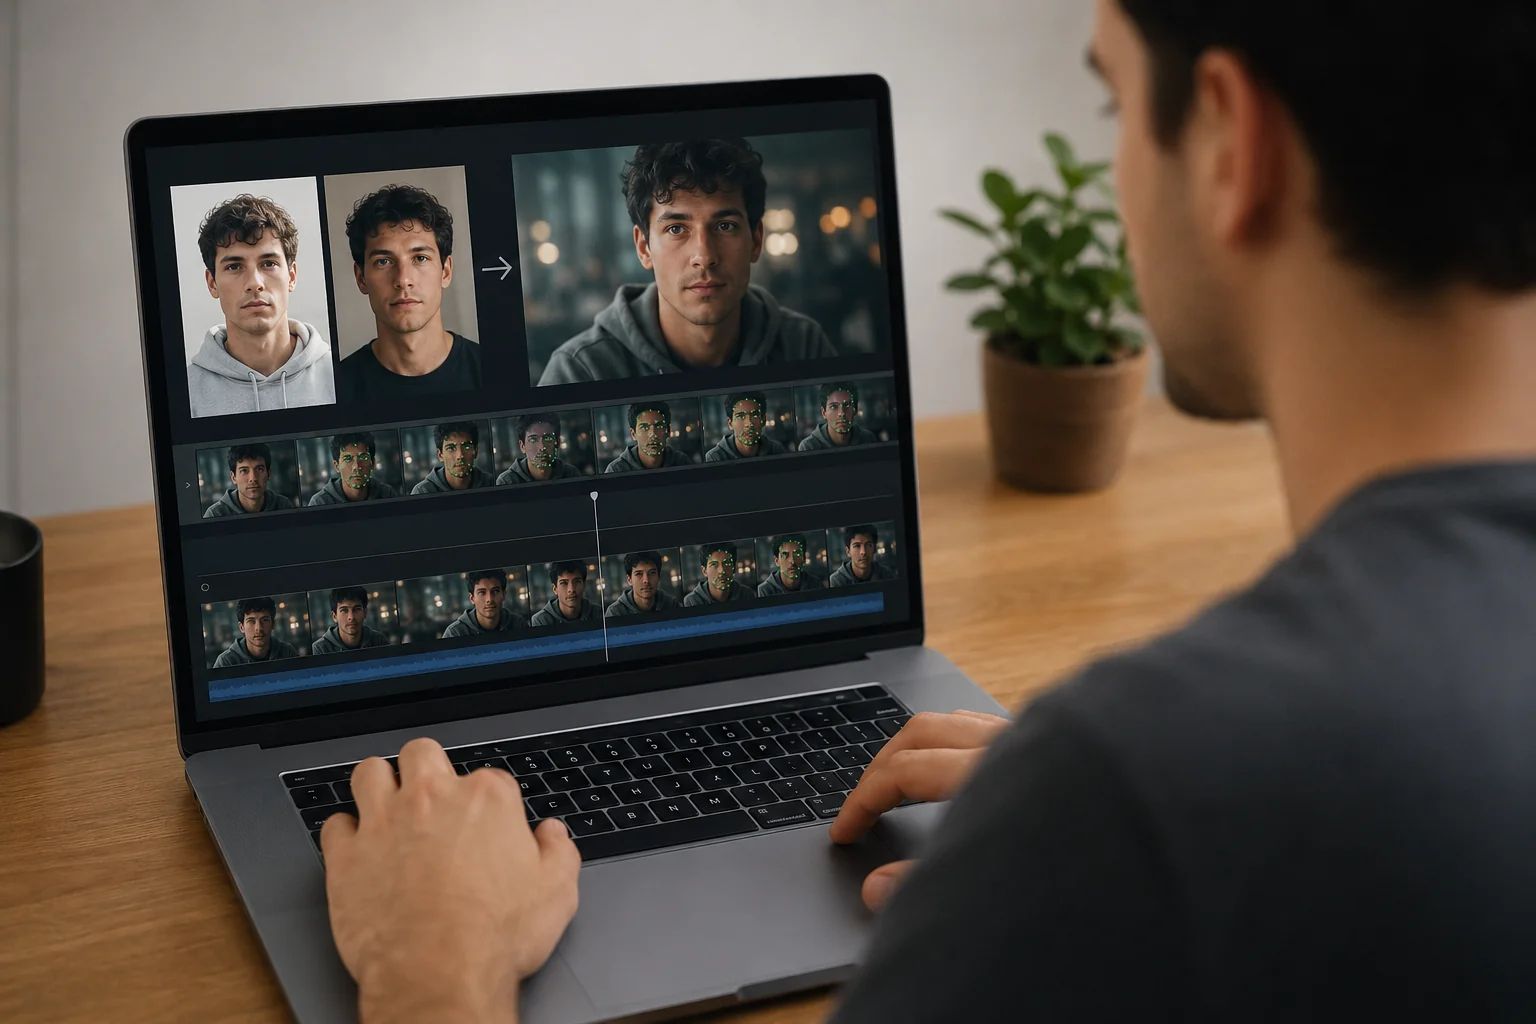
This is the fastest path from "I have a selfie" to "I have a finished face swap video." Follow these seven steps and you'll have a result in roughly five minutes.
- Pick your source photo. Open your camera roll and choose one clear, front-facing selfie. Avoid filters, sunglasses, and heavy makeup. The AI matches what it sees, so a clean photo equals a clean swap.
- Pick your target video. Trim it to under 30 seconds for your first attempt. Shorter clips render faster and let you test settings without burning credits.
- Open the face swap tool in your browser. No app install required. The page will have two upload slots, one for the face and one for the video.
- Upload the selfie first. The tool will auto-detect the face and show a preview thumbnail. If it can't find a face, your photo is too dark or too angled. Pick another.
- Upload the target video. Wait for the upload bar to finish. MP4 and MOV both work; if your file is a MKV or HEVC, convert it first.
- Press Generate and wait. A 15-second 1080p clip renders in 60–120 seconds. Don't refresh the page.
- Download your 720p MP4. Preview it on your phone before posting. Small screens are the most forgiving, and most of your audience will watch there anyway.
That's the entire flow. The same logic applies to the mobile app route, except step 3 becomes "open the app" instead of "open the browser." For the iOS app specifically, the in-app flow is nearly identical and works on both Face Swap and Head Swap (see the difference in head swap vs face swap).
What changes for the other two methods
For the mobile app, you'll grant photo library access and pick clips directly from your camera roll. Convenient, but you're limited to what's on your phone. For DeepFaceLab, replace steps 3–6 with: install Python, download the toolkit, extract frames, train for hours, then merge. The output can be stunning, but you've now joined a hobby instead of finishing a TikTok.
AI Video Face Swap Online
Upload a face photo and MP4 or MOV video to replace faces online with frame-by-frame tracking, adaptive blending, and 720p MP4 output.
Free to start • No credit card required • Professional quality

Common pitfalls (and how to avoid them)
Most disappointing face swap results trace back to the same handful of mistakes. Watch for these before you blame the tool:
- Bad source photo. Side angles, harsh shadows, or low resolution force the AI to guess. Take a fresh selfie near a window. Five seconds of effort saves the whole project.
- Wrong target clip. Videos where the face turns away constantly, gets covered by hands, or sits in extreme low light produce flickery edges. Pick clips where the face stays mostly forward.
- Mismatched lighting. A selfie shot at golden hour swapped onto a fluorescent-lit indoor video will look pasted on. Try to match the general light direction.
- Wrong resolution expectations. Most cloud tools output 720p on free tiers. If you need 1080p+, check the paid plan first instead of being surprised later.
- Group videos with the wrong target face. When two faces appear, the tool may swap the wrong one. Crop your clip to isolate the target, or use a tool that lets you pick which face to replace.
Which method wins for your use case
Honestly, the answer to "which method is best" depends entirely on what you're making. Here's how the three options stack up against the most common scenarios.
For meme and TikTok creators
Use the mobile app or the online tool. You need speed, vertical output, and zero setup. Quality differences disappear on a 6-inch screen, and the audience is scrolling anyway. The TikTok face swap ideas guide has templates that work especially well with the cloud approach.
For YouTube and self-shot creators
Use the online tool with a paid tier for 1080p output. You want consistent quality across longer clips without burning a weekend on training. Browser-based ai video face swap tools hit the sweet spot of price, time, and look.
For short-film, music-video, or paid client work
Use the local open-source route. The 4–24 hour training time pays off when the footage will be projected, color-graded, or scrutinized at full resolution. Hidden costs include a capable GPU, electricity, and a real learning curve, but for one polished final result, the quality jump is visible.
The honest hidden-cost reminder
Cloud tools charge subscriptions; local tools cost hardware and hours. There is no truly free path once you're past test clips. Pick the cost shape that matches your project, not the one that sounds cheapest on the surface.
2026 Face-on-Video Setup Checklist
Use this quick check before choosing a method: browser tools are best for 10-20 second social clips, mobile apps are fastest for memes, and local workflows make sense only when you can spend time on setup and cleanup. For the cleanest first test, use a 720p or 1080p source clip with one visible face, steady lighting, and a selfie taken from a similar angle.
If your goal is TikTok, read the TikTok face swap template guide next. If you are still choosing between face-only and full-head replacement, compare the examples in head swap vs face swap.
Wrapping up
Now that you know how to put my face on a video three different ways, the choice gets simple: browser tool for speed, mobile app for memes, local open-source for cinematic results. Start with the online method, judge the output on your phone first, and only graduate to heavier workflows when a real project demands it.
Your next step is just to try it. Pick a 15-second clip, grab a clean selfie, and run the seven-step flow above. You'll have a finished video before your coffee cools. If you want a deeper map of every face swap technique and tool category, the ultimate guide linked earlier is the natural next read.
FAQ
Can I put my face on a movie scene?
Yes, for personal experiments. Just remember that copyrighted clips can't be redistributed, and many platforms restrict face swaps of public figures. Check the terms before posting.
Do I need video editing skills to do this?
No. The online and mobile methods need zero editing experience: upload, generate, download. Only the local open-source route requires technical setup.
How many photos of my face does it need?
Cloud and app methods need just one clear selfie. Local training methods (DeepFaceLab) want 50+ varied photos for best results.
Will it work on group videos with multiple people?
Most tools let you pick which face to swap when several appear. For cleanest results, crop the clip to isolate your target face first.
Can I remove my face later if I change my mind?
You can delete the output file anytime, and reputable tools let you delete uploads from their servers. Always check the privacy policy before uploading.