
Introduction
You've seen those viral clips on TikTok and Instagram where someone's face is placed onto another person in a video, and now you want to try it yourself. The good news: you don't need editing experience or expensive software to swap faces in video content. With current AI tools, the whole process takes minutes instead of hours.
This guide walks you through every click, from choosing your source files to exporting a polished, share-ready clip. Whether you want to create a funny birthday greeting, a creative cosplay reel, or a branded social post, you'll learn the exact workflow to swap face in video clips using AI. No jargon, no guesswork.
By the end, you'll know how to pick the right reference photo, troubleshoot the most common beginner glitches, and export a result that actually looks convincing. Let's get started.
Key takeaways
- Minimal setup required: a clear face photo, a target video, and a browser or smartphone are all you need to swap face in video content.
- Photo quality matters most: a well-lit, front-facing reference image dramatically improves the final result.
- Rendering is fast: most AI tools process a short clip in under two minutes.
- Common mistakes are avoidable: mismatched lighting, low-resolution sources, and extreme head angles account for 90% of bad swaps.
- Always get consent: face swap consent laws vary by jurisdiction, so check local regulations before publishing.
What is face swapping in video?
Face swapping in video replaces one person's facial features (eyes, nose, mouth) with another person's face while keeping the original body, hair, and background intact. Unlike a simple photo overlay, a video face swap must track head movement, adapt to changing expressions, and blend skin tones across every single frame.
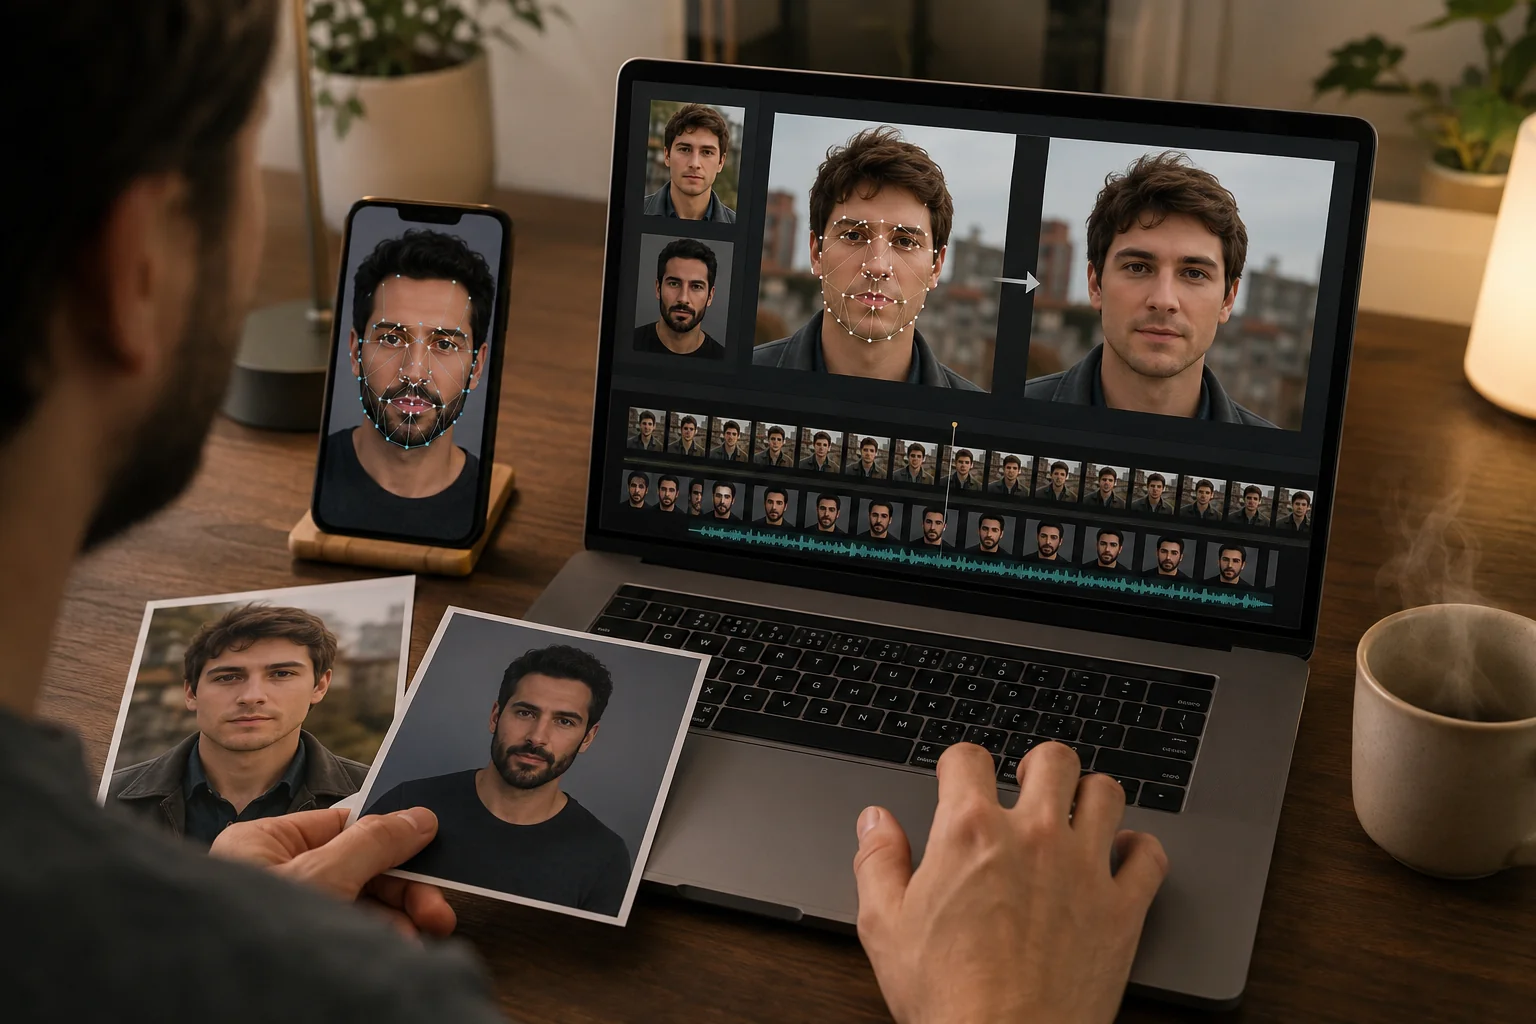
Modern AI handles this automatically. The tool detects facial landmarks in both your reference photo and each frame of the target video, maps the new face onto the original, and smooths the edges so the result looks natural. If you're curious about how this frame-by-frame process works under the hood, this breakdown of AI face replacement covers the details.
Face swap vs. head swap
A quick distinction worth knowing: face swap replaces only the inner facial features (eyes, nose, mouth) while preserving the target's hair and head shape. A head swap replaces the entire head, including hair, which is useful for cosplay-style work where hairstyle matters. Choosing the wrong mode is a common beginner mistake. For a deeper comparison, see this guide on head swap vs. face swap and when to use which.
For most social media and creative projects, face swap is the better default. It blends more naturally with the target's body proportions and existing hairstyle.
Why learning to swap faces in video matters
Face swap video isn't just a party trick. Content creators use it to produce reaction videos, comedy skits, and branded campaigns without needing actors or reshoots. Small businesses use it for localized ad variations. Educators use it to create engaging historical reenactments.
The barrier to entry has dropped a lot. A few years ago, you'd need frame-by-frame manual editing in After Effects. Now, an AI tool lets you swap face in video clips with a few uploads and a single click. That speed advantage matters when you're producing content on a weekly or daily schedule.
Understanding the basic workflow also helps you evaluate results critically. When you know what makes a good swap (lighting match, resolution, angle), you can spot fakes in the wild and make smarter decisions about the content you consume and share.
How the face swap workflow works (5 steps)
Here's the plain-English, click-by-click process to swap face in video using an AI tool. The steps below apply to iMideo's web tool, but the general logic is the same across most platforms.
Step 1: Upload your target video
Start by uploading the video clip containing the face you want to replace. Keep your clip under 60 seconds for faster processing. Make sure the target face is clearly visible. Avoid clips where the person's face is constantly obscured by objects or extreme motion blur.
Step 2: Upload a clear reference face photo
Next, upload a photo of the face you want to place into the video. This single image is the most important input. Use a well-lit, front-facing photo where both eyes are visible. Avoid sunglasses, heavy shadows on one side, or extreme angles. A resolution of at least 512 × 512 pixels works well.
Step 3: Let the AI align and map
Once both files are uploaded, the AI detects facial landmarks in your photo and maps them onto the target face in each video frame. On iMideo's AI face swap tool, this step is automatic. You don't need to manually position anything. The tool handles expression matching, skin-tone blending, and edge smoothing on its own.
Step 4: Preview and troubleshoot
After rendering, preview the result. Look for three common glitches: misaligned jawline (usually caused by an angled reference photo), skin-tone mismatch (caused by very different lighting between source photo and video), and flickering around the hairline. If something looks off, try a different reference photo with better lighting or a more neutral angle, then re-render.
Step 5: Export and share
Happy with the result? Download your finished video. Most tools export in MP4 format, which is ready for direct upload to TikTok, Instagram Reels, or YouTube Shorts without any conversion.
AI Video Face Swap
Transform videos with AI face swap technology. Upload images to create realistic face replacements. Professional quality, fast processing, HD output.
Free to start • No credit card required • Professional quality

How to get started: your pre-swap checklist
Before you hit "upload," running through a quick checklist saves time and avoids failed renders. Here's everything you need to prepare.
Device and browser requirements
You can swap face in video from virtually any device. On desktop, use an up-to-date Chrome, Safari, or Edge browser. On mobile, the iMideo iOS app supports face swap for both photos and videos directly on your phone, which is handy when you want to shoot and swap on the go.
Source video specs
- Length: Under 60 seconds is ideal for beginners. Faster render, easier to review.
- Resolution: 720p or higher. Lower-quality footage produces blurry, unconvincing swaps.
- Stable head visibility: The target face should be visible for most of the clip. Scenes with constant head turns or heavy occlusion (hands covering the face, etc.) make alignment difficult.
Reference photo requirements
- Lighting: Even, front-facing light. Natural daylight near a window works well.
- Angle: Straight-on or within about 15° of center. Extreme side profiles confuse alignment.
- Expression: Neutral or slight smile. Exaggerated expressions can create artifacts.
- Resolution: At least 512 × 512 px. Higher is better, but enormous files slow uploads without adding quality.
Consent and legal notes
Face swap consent laws vary, so check your jurisdiction before publishing swapped content featuring real individuals. As a general rule, get explicit permission from anyone whose likeness you use, especially in commercial or public-facing content.
Beginner mistakes that ruin your first swap
Most failed face swaps come down to a handful of avoidable errors. Here's what to watch for and how to fix each one.
1. Using a low-resolution or blurry reference photo
The AI can only work with what you give it. A pixelated selfie cropped from a group photo will produce a muddy, unconvincing result. Always use the highest-quality source image available.
2. Mismatched lighting between photo and video
If your reference face is lit from the left but the target video has overhead lighting, the blend looks unnatural. Try to match the general lighting direction, or pick a reference photo with soft, even illumination that adapts to most scenarios.
3. Choosing a video with extreme motion
Fast head shakes, whip pans, and heavy motion blur break face tracking. Start with a clip where the subject moves naturally, like talking to camera or walking at a normal pace. You can tackle action scenes once you're comfortable with the basics.
4. Confusing face swap with head swap
If you want to change someone's hairstyle along with their face, you need a head swap, not a face swap. Using the wrong mode leaves the original hair visible beneath the new face, and it creates an obvious glitch. Check out the ultimate guide to AI face swap for a full breakdown of when to use each mode.
5. Skipping the preview step
Always watch the full preview before downloading. Glitches often appear in specific frames. A two-second jaw flicker at the 0:12 mark is easy to miss if you only glance at the thumbnail.
Real-world examples: where creators swap faces in video
Seeing how other creators use face swap video gives you practical ideas for your own projects. I've seen some genuinely clever uses across different niches.
Comedy and entertainment
Short-form comedians swap their face onto movie characters or celebrity interview footage to create parody content. The humor comes from the unexpected combination: your face delivering a famous monologue. These clips routinely earn high engagement on TikTok and Reels.
Personalized greetings
Birthday and holiday videos get a creative upgrade when you swap a friend's face onto a dancing character or a movie hero. It's a memorable alternative to a generic greeting card, and the recipient can share it on their own social feed.
Marketing and branding
Small businesses create localized ad variations by swapping a model's face to better represent their target audience, without reshooting the entire commercial. This workflow cuts production costs dramatically while keeping the core creative intact.
Each of these use cases follows the same five-step workflow covered above. The only variable is your creative vision.
Wrapping up
You now have a full, step-by-step workflow to swap face in video clips, from preparing your source files to exporting a polished result ready for social sharing. The big takeaway: photo quality and lighting match matter more than any tool setting. Get those right, and the AI handles the hard part.
Start with a short, simple clip and a well-lit reference photo. Run through the five-step process once, review the preview carefully, and iterate from there. Each swap you complete builds your eye for what works and what to fix next time.
Ready to try your first face swap video? Open iMideo on the web or download the iOS app and follow the steps above. Your first convincing swap is closer than you think.
2026 workflow update: start with a short test clip
The fastest way to get a good video face swap in 2026 is to test with a 5-10 second clip before processing a full video. A short test reveals whether the reference photo matches the lighting, whether the face stays visible enough for tracking, and whether the tool introduces flicker around fast motion.
For Reels, TikTok, and Shorts, prepare a vertical 9:16 export, keep the face large enough to track, and use a neutral, well-lit reference photo. If the preview looks soft or unstable, change the source photo first; it usually improves results more than changing advanced settings.
Frequently asked questions
What do I need to swap faces in a video?
A target video clip (720p+, under 60 seconds), a clear front-facing reference photo (512 × 512 px minimum), and a browser or the iMideo app.
What is the right source photo for face swap video?
A well-lit, front-facing image with both eyes visible, neutral expression, no sunglasses, and at least 512 × 512 px resolution.
How long does a face swap video take to render?
Most short clips (under 60 seconds) render in one to two minutes, depending on the tool and video resolution.
Can I swap multiple faces in the same video?
Yes. Run the process once per face. Upload the video, select the target face, apply your reference photo, then repeat for additional faces.
How do I keep the original facial expression?
AI face swap tools automatically map the target's expressions onto your reference face. Use a neutral reference photo so the AI has maximum flexibility to adapt expressions frame by frame.